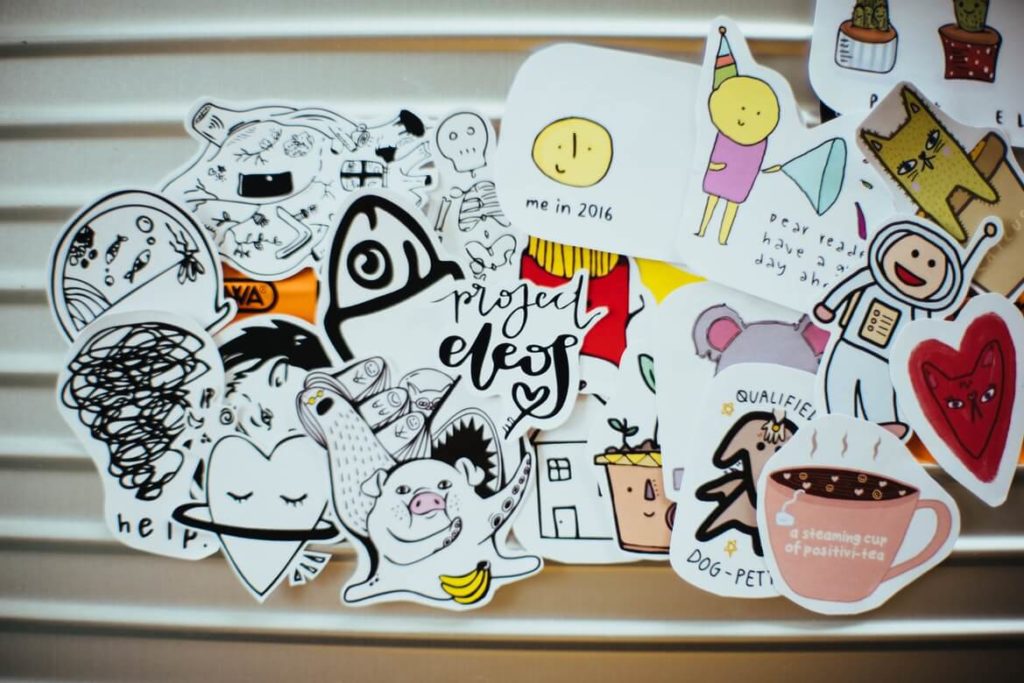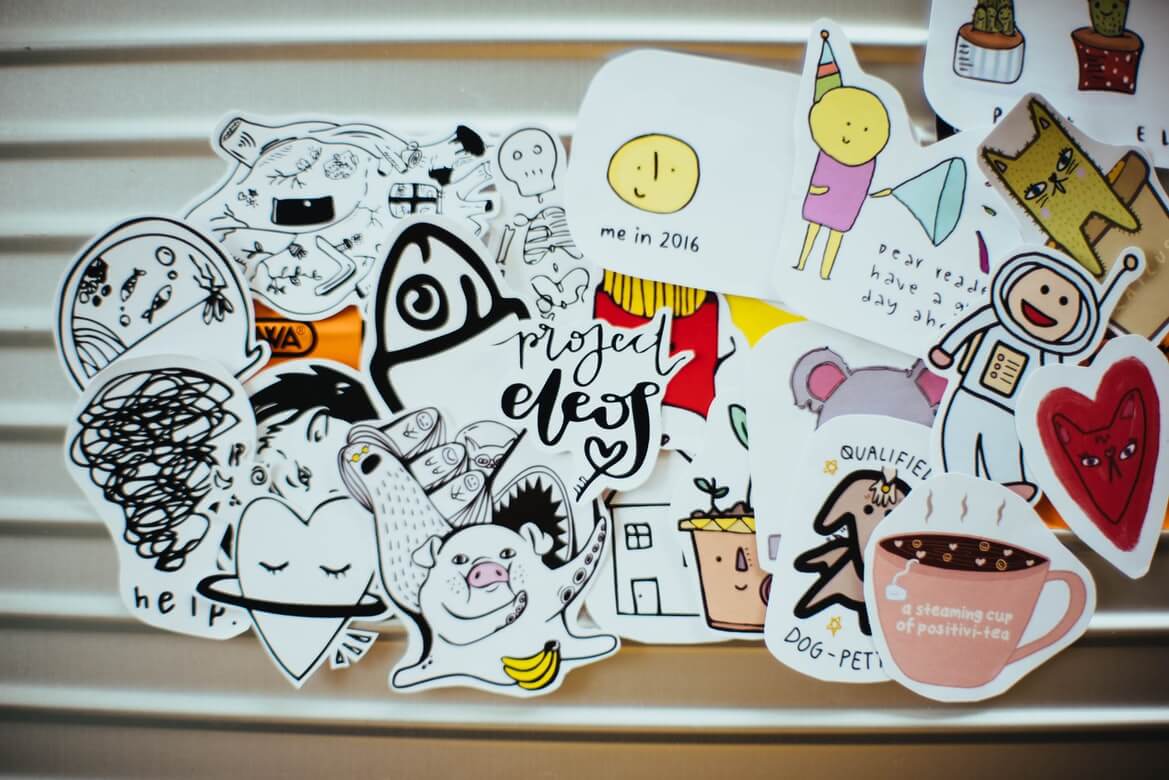
Are you looking for ways to personalize your belongings? Do you want to make your products look more aesthetically pleasing? Or are you simply searching for a new hobby?
How about creating your own personalized stickers? Applying customized stickers to your possessions and products is a great way of adding your own personal touch. You can express your quirkiness and creativity through unique DIY decals.
As a sticker enthusiast, it is quite frustrating when your decals get ruined by water or sun exposure. Waterproof stickers are durable and can hold up to various conditions. Learn how to make waterproof stickers by using these simple techniques.
1. Design Format
Whether it is your own design or a printable available on the internet, you need to decide on the artwork you want on your sticker. Ensure that the image you will use for making stickers are in an SVG file format like png.
These formats are scalable and have a high resolution. This will give the assurance that your waterproof stickers will be of superior quality.
2. Decide on the Material
Depending on where the stickers will be applied, you need to ensure their durability and suitability. For creating the ideal custom waterproof stickers, you need to stock up on the appropriate materials.
There are two main types of sticker bases: sticker paper and printable vinyl. Aerosol sealers and laminating sheets are used to waterproof sticker paper.
The standard sticker paper is usually made of paper. This means it will absorb moisture. The resulting sticker might have ink bleeding through and create an unreadable mess when exposed to water.
Hence, it is best if you use printable vinyl for making stickers that are impervious to moisture. The vinyl will repel it, making your decal water-resistant.
Despite the manufacturer’s claims, some ink will still bleed through the vinyl after some washes. The top of the vinyl needs to be properly sealed or laminated to make it more durable.
The aerosol sealant will also act as a protectant against UV rays and water. It will also make the colors appear vivid and remain vibrant for years.
Lamination also makes the stickers resistant to scratches. Moreover, it will make the stickers dishwasher safe and be resilient over the years.
3. Decide on the Method
The thermal laminating method can be used to print waterproof stickers. However, the resulting stickers are not completely impervious to water. Moreover, it requires a special laminating machine, which is quite cumbersome.
There are two effective methods of making DIY waterproof stickers. Based on your resources, sticker goals, and capabilities, decide on the method you will go with. Weigh out the pros and cons of each type of procedure and decide the one you deem the best.
A. Self-adhesive Laminating Method
You can use this method if you are thinking of making dishwasher-safe and weatherproof decals. For instance, if you want to make customized wall decals and weatherproof water bottle labels. This technique also takes less time.
Self-adhesive laminate sheets are basically two plastic films that are bigger than standard-sized paper. One of the sides is adhesive and adheres to the surface of the sticker. This seals the sticker paper and protects it. You can substitute the film with Silhouette clear sticker paper.
However, laminating sheets give you room to recover from mistakes. The sheets are larger and can encase the entire paper. This makes the whole process a bit easier.
It must be noted that self-adhesive laminating and thermal laminating are not the same. Heat laminating does not make your stickers fully resistant to water.
You can use the standard sticker paper as your base, but you need to be very careful. If any water droplets get underneath the sticker, it will compromise the longevity of the paper under the laminate sheet. Ensure that the sticker paper or vinyl is compatible with your printer. The packaging of the product usually specifies whether it is made for inkjet or laser printers.
You can opt for either glossy or matte finishes on your sticker base. It should be noted that the lamination will give the matte base a lustrous finish. On the other hand, the glossy base will make the colors pop and look more vibrant.
The advantages of this procedure are listed in the following:
- The application process does not need any special instruments. You can use a credit card to push the air bubbles out and apply the laminating sheet evenly.
- You can work with different thicknesses and opacity.
- This process is less stressful as the laminating films are larger than the standard paper.
- The laminating materials are easily accessible. You can find them in local or online office supplies stores.
- This method does not require any heat. It does not produce any toxic fumes and odors. It also does not require any electricity.
The disadvantages of this procedure are as follows:
- The sheets might be expensive.
- Scraping with a card to push out the air bubbles may leave scratch marks.
B. Aerosol Sealant Method
Aerosol sealants can work well as transparent protectants if used carefully. Based on the brand, the finish can be either matte or glossy. You should keep in mind that you need to wait for at least 24 hours for the ink of the stickers to dry after being printed.
After 24 hours, you can safely spray the sealant over your stickers. You should always ensure that you follow the safety precautions required in this method. The manufacturer’s directions should always be strictly followed.
The pros of this method are the following:
- The aerosol is light and does not add weight to your stickers.
- You can waterproof multiple sheets at the same time.
- The sealant spray is also a UV protectant.
- The method is affordable and does not break the bank.
- Generic models of both laminating equipment and pouches are easily accessible.
The cons of this procedure are as follows:
- It is a very hazardous procedure. Following safety precautions is mandatory.
- It requires the application of multiple coats. It might be necessary to wait for 10 to 30 minutes between each coat.
- You need proper ventilation to avoid the health risks associated with the VOC fumes from the aerosol.
- The weather may affect the coating process. You need to spray at optimum temperatures. Hence, you might not always be able to spray outside. Also, there are inexpensive ways to make weatherproof labels.
Happy Sticking!
Whether you are making your stickers with spray sealants or laminating sheets, ensure that your working space is kept clean. You do not want any lint or any other unwanted bits on your sticker. Keep everything organized and within your reach before starting the project.
Align your sticker base and lamination properly before the laminating process. Be patient and take your time to work your way from the center to the edges. Most importantly, have fun making your own unique stickers!

Good article, it would have been useful if you could have linked to examples of suitable spray and laminates though as I have no idea what I am looking for and there are a lot of similar products in related industries and Google searching is bringing up too many varied results to figure out which products I should use. But thanks for the starting point.