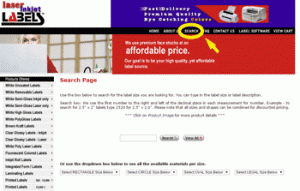
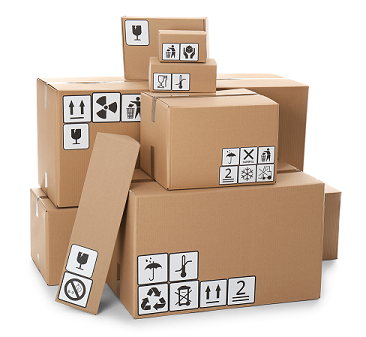
Are you wanting to design some awesome shipping labels for your business? Let us give you some pointers for design and then get your labels printed for you so you can print them off on your own laser inkjet printer
How To Design Shipping Labels
Adding a logo or custom message on your shipping label is a great way to add branding to your packing. Basic shipping labels alone give you a few options for customization. You can add a logo of your choice and a message to your customer, such as a brief thank you message or a summary of your order. You can also use integrated shipping labels, labels that let you create a packing slip and the actual label itself. Let’s take a look at some ways that you can design your own shipping labels.
Basic Shipping Label Design
If you are using a USPS Click-n-Ship label, Netstamps label, or any of our standard shipping label sizes, there are a few customization options available for you. A small logo cna help your customers identify where the package is coming from. There is also room for your label, especially if you use a platform like WooCommerce or ShipStation, where you can put a custom message for your customers. You can say something like “Thank you for your order,” or you can provide a brief summary of what they are receiving.
Providing a Beautifully Designed Label With Integrated Shipping Labels
Integrated shipping labels are a great way to add value for your customers, especially if you are an ecommerce store. When designing your packing slip, there are a few things that you should include:
- Recipient name
- Shipping address
- Brand name
- Brand contact information
- Order information, including date of order, items, UPCs, quantities, and price.
However, there are some other design elements that you want to include in your integrated label design that will help you better interact with your customers.
Make Your Packing Slips Stand Out In Your Integrated Label Design
Typically, all packing slips and integrated labels look the same. They are white, devoid of color, and basically just an itemized list of what the customer has ordered. Don’t stop at the logo. You can easily add more colors, your branding motifs, your company slogan, and inspirational quotes for your customers.
Connect With Your Customers
When designing your integrated shipping labels, you can do more than just put your email address and a phone number. Some ideas for better shipping labels include having your social media handles, hashtags that connect with your brand on social media, and even using QR codes with special discounts to bring customers back to your website to purchase more.
Add Even More Value To Your Customers On Your Integrated Shipping Labels
Do you have a brick and mortar store? That extra white space on your packing slip portion of your integrated shipping label can be used to give your customers a coupon that they can redeem at your store. Other ideas for adding more value to your packing slips include:
- Having discount codes to use on your website for a percentage off or even free shipping.
- Links to partner websites where customers can further redeem offers.
- A link or QR code that lets customers give you a review on Google My Business or Trustpilot.
Designing Your Own Shipping Labels and Integrated Shipping Labels
You don’t need to have an expensive suite of design software, like Adobe CS, to design your own labels. You can use a simple program like Canva or GIMP to get the job done. Laser Inkjet Labels has several different templates that you can use to get it right the first time. After you are done designing your shipping labels, send them over with a request for a sample. If you are happy with your sample, you can go ahead and complete your order. You can then use any laser inkjet printer to get the print off your labels.
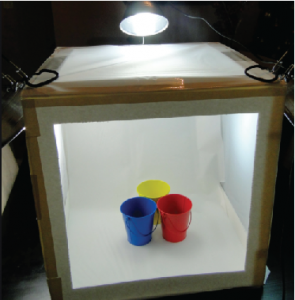 We’ve all heard the phrase, “a picture is worth a thousand words.” Nowhere is this more important than when you are trying to sell products online. It’s hard enough just to get people to your site to see your products, so when they do get there, why not show them the best possible images of your products. You don’t need to hire a professional photographer or marketing firm to accomplish it either. Here’s how to create your own White Box and produce your own professional looking product images.