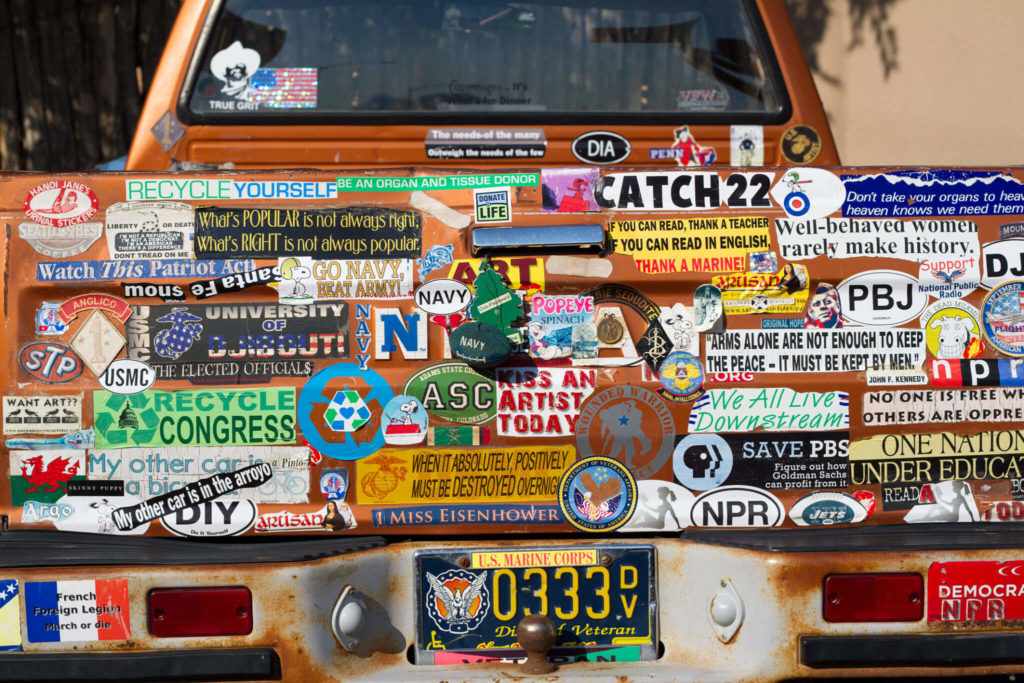
The Average Bumper Sticker Size

Bumper Sticker Size

Perhaps the most crucial question to ask before determining the average bumper sticker size is “what is a bumper sticker?” Bumper stickers are defined as any durable exterior sticker that can be applied to the bumper of vehicles. It includes a wide variety of forms and sizes. However, traditionally, a “bumper sticker” has been defined as a large, rectangular sheet of printed vinyl with a design on it.

What is a Bumper Sticker?

The modern bumper sticker originally belonged to Forrest P. Gill, a screen printer in Kansas City, Missouri. As a result of World War II technology surpluses, Gill found himself with an excess of two items: fluorescent paint and adhesive-backed paper.

So, what really is a bumper sticker? It is a message on an adhesive sticker or label that is meant to be applied to the bumper of a vehicle and read by the drivers of other vehicles. Bumper stickers are also often applied to other things. The majority of standard bumper sticker dimensions are approximately 25.4 cm × 7.6 cm (10 in by 3 in) in size and are frequently made of PVC.

Bumper stickers can promote a business, a religion, a secular cause, or show support for a sports franchise or other group. The perspective they take on a specific philosophical or political issue could be either supportive or antagonistic. During election years in certain countries, like the United States, bumper stickers are a popular method to express support for a candidate running for a government position. In other countries, like the United Kingdom, they are not really seen in any shape or form.

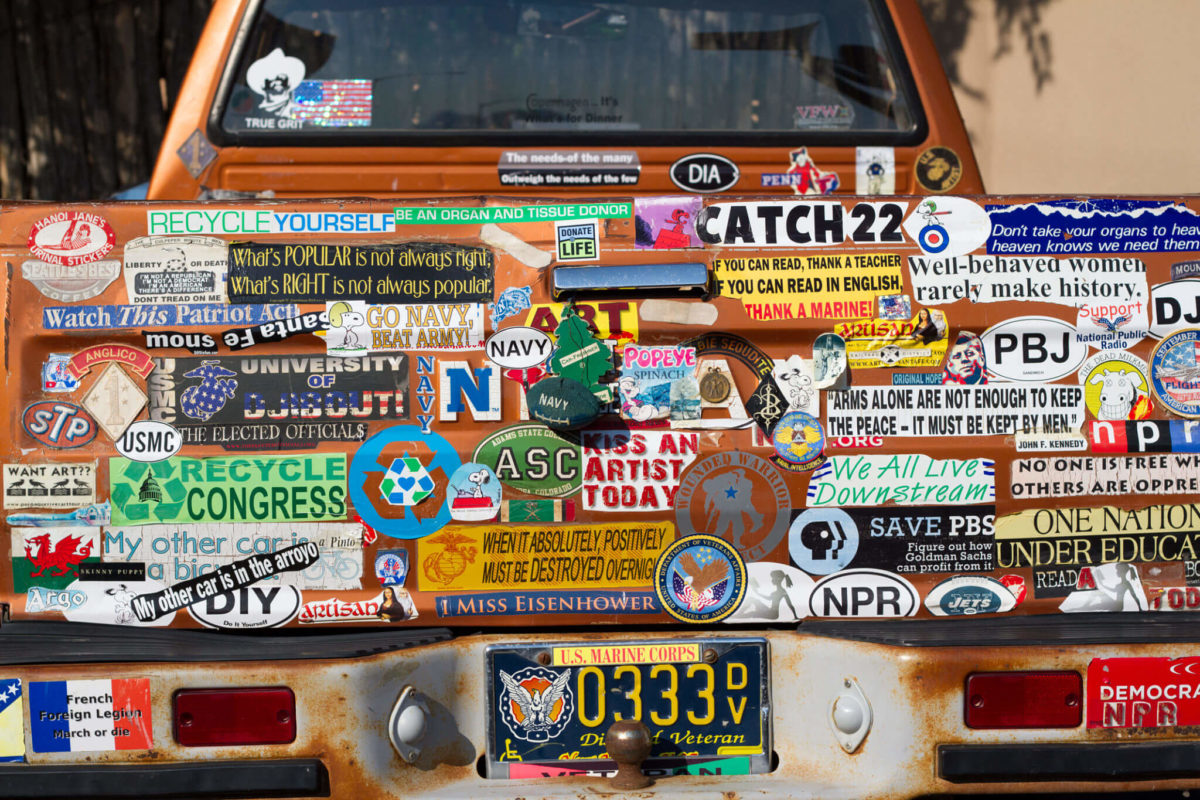
Bumper stickers are more than just an advertising tool; they are a cult classic of pop culture. Durable and designed for outdoor use, bumper stickers have decorated millions of automobile bumpers and windscreens. As a result, they are the preferred option for almost any vehicle sticker application.

However, bumper sticker printing is not limited to automobiles. They are often used on computers, bicycle frames, office equipment, file cabinets, equipment bags, and luggage. Not all bumper stickers are for drivers. The stickers sizes may vary on the usage purpose of individuals. You can get an idea by looking at the bumper sticker template that is available online.

What is the Average Bumper Sticker Size?

You might wonder what size to use when buying custom-made bumper stickers. In that case, the answer depends on several variables, including how the sticker will be disseminated and the message or design that will be put on it. Bigger is not necessarily better, as shown by the fact that the average size of vehicle stickers has decreased over the past several decades. As more individuals have shown a reluctance to display big and distracting bumper stickers on their vehicles, the typical size of a bumper sticker has reduced. As a result, the usage of alternative sticker shapes, sizes, and designs has grown in popularity.

The simple answer is that there is no standard size if you are looking for a bumper sticker size. However, the 3” X 11.5” bumper sticker is the most popular or standard bumper sticker size. Even while we have the biggest stock size available, 3.75” X 15”, these bigger sizes are becoming more seldom utilized. While many online retailers mention the 11.5″ x 3″ size as the most popular, this is hardly true. While the average height remains 3 inches, the average size is closer to 10 inches, with relatively few designs exceeding 11 inches in length due to the limitations of home printing and the requirement for full-bleed artwork.

Standard Car Decal Size

The standard car decal sizes and shapes are:

  • Rectangles: 5″ x 7″, or 3″ x 11.5″
  • Ovals: 5″ x 8″
  • Circles: 6″ – 8″ diameter
  • Octagons: cut from 8″ x 8″
  • Squares: 6″ – 8″
  • Triangles: cut from 8″ x 8″

What is “Full Bleed”?

In printing terms, “full-bleed” refers to an image that extends entirely to the medium’s edge, leaving no blank space on the borders. It is less of a problem when printing a picture with a white background. However, a white border (or line) around the image will seem cheap and unprofessional when printing an image with a bright color scheme. Now that you know about bumper sticker size, let’s discover the printing process.

Printing Bumper Stickers

Only the biggest and most costly printers can print complete bleed on media without trimming the paper’s edges. These enormous printing machines cost several hundred thousand dollars and often fit only in warehouse-sized areas. However, the vast majority of printing is done on smaller, less costly printers. These printers’ mechanical operations need a tiny quantity of unlabeled medium around the printed artwork/image. To circumvent this, print industry experts simply print an image on bigger media than required and then trim the excess border to produce a full-bleed artwork.

Home-based bumper sticker printing is no different. In the United States, the typical home printer prints on standard letter paper, which measures 8.5″ x 11″. Due to these specifications, no bumper sticker measuring 11.5 inches in length may be printed. Likewise, no sticker measuring 11 inches in length will have full-bleed color. Due to these limitations, many small artists print bumper stickers in 3″ x 10″ proportions and then cut them down from letter size to get a full bleed design.

There is little to no difference in functionality between a 10 inch and 11.5-inch bumper sticker. The artwork’s and design’s quality will take priority over the length, and as more boutique artists make their customized bumper stickers, the 3″ x 10″ style is becoming increasingly popular. Also, you can get preprinted bumper sticker labels online, which can save you the designing process.

Removing Bumper Stickers

On the back of the detachable liner of the first bumper stickers, written instructions were attached to the car’s bumper. Because of the vehicle’s movement and the fluctuating climate conditions, the sticker had to stick effectively to the surface of the bumper.

There are specific bumper stickers that are “simple to remove” and magnetic bumper stickers. With a sharp knife, penetrating oil, or a heat gun, you can remove bumper stickers from your vehicle. Home remedies may also involve using everyday materials found in the home, like paint thinner or WD-40.

Obscene Bumper Stickers Laws

Several states have enacted legislation prohibiting the exhibition of indecent bumper stickers. For instance:

  • The exhibition of “obscene or blatantly objectionable bumper stickers” is prohibited under Tennessee law.
  • Alabama law bans the use of “obscene terminology of erotic or excretory acts” on bumper stickers.
  • Likewise, a South Carolina statute bans the exhibition of vulgar or “indecent” bumper stickers. Violations may result in a fine of up to $200.
  • The legality of criminalizing bumper stickers remains highly controversial since it is difficult to conceive a bumper sticker that fits the legal criteria of obscenity.

Conclusion

More bumper sticker sizes and ideas are available today than ever before, so you do not have to rely on costly printing services to create your own. There are customizable and printable vinyl sheets that work with practically any home printer, allowing you to create your own unique stickers to share with the world.
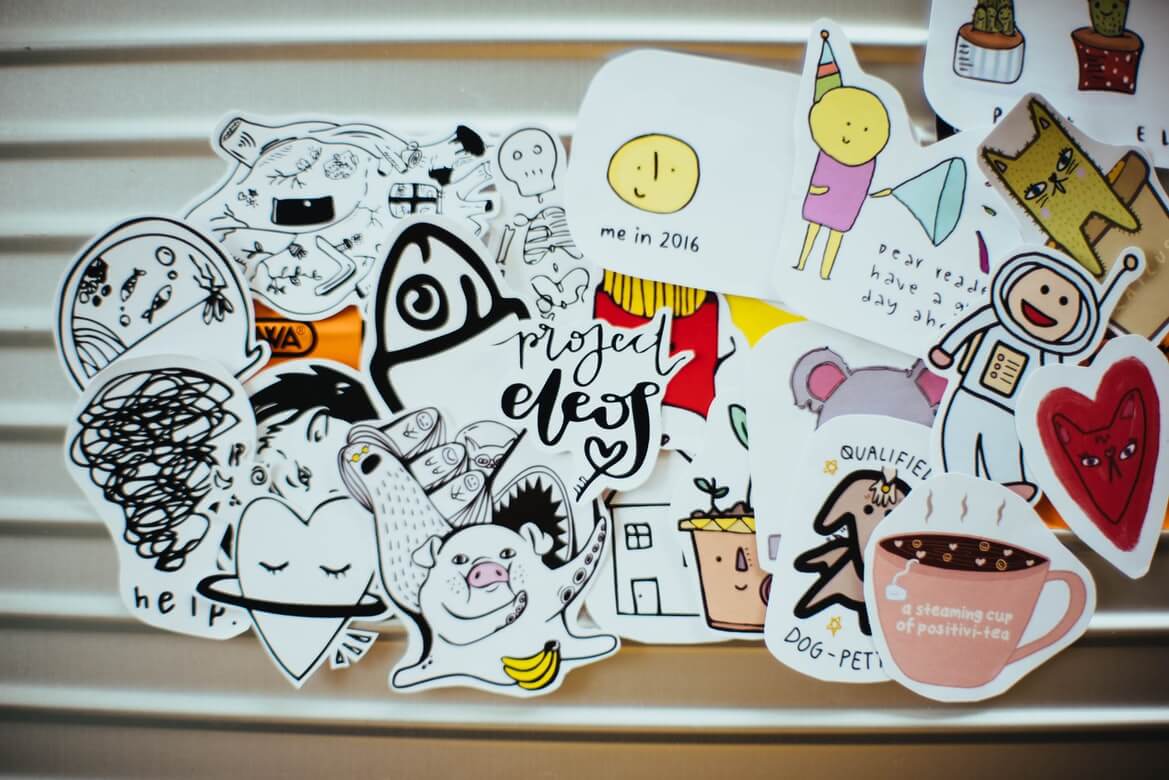
How to Make Waterproof Stickers

How to Make Waterproof Stickers
Image Credit: CHUTTERSNAP

Are you looking for ways to personalize your belongings? Do you want to make your products look more aesthetically pleasing? Or are you simply searching for a new hobby? 

How about creating your own personalized stickers? Applying customized stickers to your possessions and products is a great way of adding your own personal touch. You can express your quirkiness and creativity through unique DIY decals.

As a sticker enthusiast, it is quite frustrating when your decals get ruined by water or sun exposure. Waterproof stickers are durable and can hold up to various conditions. Learn how to make waterproof stickers by using these simple techniques.

1. Design Format

Whether it is your own design or a printable available on the internet, you need to decide on the artwork you want on your sticker. Ensure that the image you will use for making stickers are in an SVG file format like png.

These formats are scalable and have a high resolution. This will give the assurance that your waterproof stickers will be of superior quality.

2. Decide on the Material

Depending on where the stickers will be applied, you need to ensure their durability and suitability. For creating the ideal custom waterproof stickers, you need to stock up on the appropriate materials.

There are two main types of sticker bases: sticker paper and printable vinyl. Aerosol sealers and laminating sheets are used to waterproof sticker paper.

The standard sticker paper is usually made of paper. This means it will absorb moisture. The resulting sticker might have ink bleeding through and create an unreadable mess when exposed to water.

Hence, it is best if you use printable vinyl for making stickers that are impervious to moisture. The vinyl will repel it, making your decal water-resistant.

Despite the manufacturer’s claims, some ink will still bleed through the vinyl after some washes. The top of the vinyl needs to be properly sealed or laminated to make it more durable.

The aerosol sealant will also act as a protectant against UV rays and water. It will also make the colors appear vivid and remain vibrant for years.

Lamination also makes the stickers resistant to scratches. Moreover, it will make the stickers dishwasher safe and be resilient over the years.

3. Decide on the Method

The thermal laminating method can be used to print waterproof stickers. However, the resulting stickers are not completely impervious to water. Moreover, it requires a special laminating machine, which is quite cumbersome.

There are two effective methods of making DIY waterproof stickers. Based on your resources, sticker goals, and capabilities, decide on the method you will go with. Weigh out the pros and cons of each type of procedure and decide the one you deem the best.

A. Self-adhesive Laminating Method

You can use this method if you are thinking of making dishwasher-safe and weatherproof decals. For instance, if you want to make customized wall decals and weatherproof water bottle labels. This technique also takes less time.  

Self-adhesive laminate sheets are basically two plastic films that are bigger than standard-sized paper. One of the sides is adhesive and adheres to the surface of the sticker. This seals the sticker paper and protects it. You can substitute the film with Silhouette clear sticker paper.

However, laminating sheets give you room to recover from mistakes. The sheets are larger and can encase the entire paper. This makes the whole process a bit easier. 

It must be noted that self-adhesive laminating and thermal laminating are not the same. Heat laminating does not make your stickers fully resistant to water.

You can use the standard sticker paper as your base, but you need to be very careful. If any water droplets get underneath the sticker, it will compromise the longevity of the paper under the laminate sheet. Ensure that the sticker paper or vinyl is compatible with your printer. The packaging of the product usually specifies whether it is made for inkjet or laser printers.

You can opt for either glossy or matte finishes on your sticker base. It should be noted that the lamination will give the matte base a lustrous finish. On the other hand, the glossy base will make the colors pop and look more vibrant.

The advantages of this procedure are listed in the following:

  • The application process does not need any special instruments. You can use a credit card to push the air bubbles out and apply the laminating sheet evenly.
  • You can work with different thicknesses and opacity.
  • This process is less stressful as the laminating films are larger than the standard paper.
  • The laminating materials are easily accessible. You can find them in local or online office supplies stores.
  • This method does not require any heat. It does not produce any toxic fumes and odors. It also does not require any electricity.

The disadvantages of this procedure are as follows:

  • The sheets might be expensive.
  • Scraping with a card to push out the air bubbles may leave scratch marks.

 B. Aerosol Sealant Method

Aerosol sealants can work well as transparent protectants if used carefully. Based on the brand, the finish can be either matte or glossy. You should keep in mind that you need to wait for at least 24 hours for the ink of the stickers to dry after being printed.

After 24 hours, you can safely spray the sealant over your stickers. You should always ensure that you follow the safety precautions required in this method. The manufacturer’s directions should always be strictly followed.

The pros of this method are the following:

  • The aerosol is light and does not add weight to your stickers.
  • You can waterproof multiple sheets at the same time.
  • The sealant spray is also a UV protectant.
  • The method is affordable and does not break the bank.
  • Generic models of both laminating equipment and pouches are easily accessible.

The cons of this procedure are as follows:

  • It is a very hazardous procedure. Following safety precautions is mandatory.
  • It requires the application of multiple coats. It might be necessary to wait for 10 to 30 minutes between each coat. 
  • You need proper ventilation to avoid the health risks associated with the VOC fumes from the aerosol.
  • The weather may affect the coating process. You need to spray at optimum temperatures. Hence, you might not always be able to spray outside. Also, there are inexpensive ways to make weatherproof labels.

Happy Sticking!

Whether you are making your stickers with spray sealants or laminating sheets, ensure that your working space is kept clean. You do not want any lint or any other unwanted bits on your sticker. Keep everything organized and within your reach before starting the project.

Align your sticker base and lamination properly before the laminating process. Be patient and take your time to work your way from the center to the edges. Most importantly, have fun making your own unique stickers!

How To Make Product Labels For Your Startup [7 Simple Steps]

How To Make Product Labels For Your Startup
Image credit: shutterstock

I don’t recall the product’s name, but it had a cow on it,” we’ve all said as we wandered through a store. Your product labels are just as significant as your name in the eyes of your customers. 

One of the first marketing actions any company should do is define its brand. 

However, many companies overlook the significance of incorporating their brand into *everything* they do. In fact, the packaging of your product is one of the most visible ways to promote your brand. 

Another incentive to invest in a great label is that it has the potential to influence a customer’s purchasing choice. Did you know that 64% of buyers will buy a product solely based on its packaging? There are numerous reasons why a product label design is critical to your company’s long-term success. That’s why it’s very important to know how to make product labels, particularly when you’re launching a startup.

Follow up The Packaging Design Step

Packaging can become rather complex, and it necessitates a great deal of thought and planning. Allow plenty of time to carefully wrap your merchandise. Magic Whiteboard’s founder, Neil Westwood, notes that they redesigned their packaging multiple times before settling on the final one.

Consider how your target merchants would display your goods, keeping in mind that they will want it to take up the least amount of space in their store. The shape and size of the container, as well as the placement of the handle and labels, are critical. Before ordering tons of boxes, Neil recommends having some mocked up so you can thoroughly analyze the packing. Show the mock-ups to the buyers too so they can provide comments on what needs to be changed and what performs well.

Grace Foder agrees that employing a product development director or an external consultant is well worth the money. It’s critical to get your brand right, and the packaging is the most significant instrument to generate sales because it’s the first thing prospective customers see. 

The packaging label design should be unique and attractive. So, it’s best if you can take help from a local printing company in the creation of labels and packaging at a lesser cost. Remember that costs will vary depending on the quantity of your order, and bulk buying discounts may not be available if you only need a few prototypes. Contact a small design firm for assistance, as they should have a huge network of contacts in the sector.

1. Do Research Before Learning How to Make Product Labels

You must conduct thorough research before beginning to design, even with basic ones. When studying product labels, you must first determine who the product’s target customers are. Their age, values, gender, education, and other factors are all important to consider when making design decisions. 

In addition to learning about the target market, you should do as much research as possible on competitor products/brands. This knowledge is crucial for several reasons. It will first assist you in avoiding developing a label that is too similar to a competitor’s goods, and it will show you the type of design to make to appeal to that demographic.

2. Choosing the Appropriate Colors

Colors communicate faster than words. It’s critical to use them correctly if you want to capture a customer’s attention in a fraction of a second. When it comes to the use of colors, consistency is essential. Choose a few colors to reflect your brand; these will become your brand’s colors. Use these colors to communicate with customers in a variety of ways. 

The colors on your coupons, flyers, catalogs, websites, and product labels should all be the same. Customers would be able to tell which company is behind the goods without having to read a single word.

If you’re making a culinary product, make sure the colors compliment the flavor. Colors can be utilized to communicate a scent or taste. When they see yellow, they imagine bananas, and when they see red, they picture strawberries. Regular clients will be able to find the item of their choice, and new customers will be able to quickly learn about the varieties you offer.

3. Readability Should Be Improved

A product label often contains info like the product’s name, the company’s logo if the item is part of a company’s line, quantity units, and so on. It could also be a brief description or a tagline. On the reverse side, there is more detailed information, such as how to use it, ingredients, and so on.

Use appropriate wordings to make your own product labels readable. The font size should be large enough for people to see the label properly from a distance. At the very least, the text should be larger than the 6-point font. For the other pertinent information listed, a font size of 10 or higher can be used.

The font color of your custom labels must contrast with the background color to improve readability even more. However, avoid using an out-of-the-box color scheme. As a result, pick a font color that has both value and intensity contrast. Bright colors, according to customer psychology, are a better choice because it offers them a sense of confidence. In addition, the color palette should be consistent with the brand’s current visual style.

4. Choosing Fonts with Attention

Because visuals and colors cannot explain everything, words are required components of a product label. The typeface you select should enhance your brand’s aesthetic appeal. On your custom product labels, don’t use too many fonts. 

If you must have multiple fonts, you have a maximum of two typefaces to pick from, but no more. It’s better to stick with a single typeface. If your brand logo has a certain font, using two fonts is justified. Your font should be consistent with your brand. Go over a list of fonts and select a couple that you believe are suited for your brand. Reduce your options until you choose the font you want to use.

5. Using Pictures to Complement Text

Images, like colors, can convey information more quickly than words. Furthermore, visuals are more engaging and interesting to the eye than texts. So, the graphics and text should be well-balanced. Excessive amounts of either can cause perplexity.

6. Choosing the Right Label Size

Choosing the right label size is easy. A very small label would go unseen, whereas a very large label could wrinkle or fold at the package’s edges. Choose a label size that is appropriate for the product.

7. Emphasize the Use of White Space

Focus on the sections of a design that have not been used by the designer for photos, text, or other visuals. These are the white spaces or the design’s background color. White space is an important part of making a product label, which may be done with a product label template. This space aids in the separation of chunks of various information, making it easier for clients to read the details. It’s also utilized to distinguish things visually.

The packaging design has a simple aspect, thanks to the use of white space. This provides the design a refined appearance. It denotes the product’s serenity. This is why white space is so important when designing a label for baby products, cosmetics, and other similar items.

A strong product label with clear content and a basic logo design can help entice the audience. It displays the product’s user-friendliness and conveys a sense of simplicity.

Also, you need to research which type of label actually suits your products. There are uncoated labels, high-gloss labels, semi-gloss labels, inkjet only labels, laser labels, colored labels, and several others to choose from.

Product’s Unique Selling Proposition

The ultimate purpose of a product label is to first attract consumers’ attention and then persuade them to buy the goods. The easiest method to do the latter is to emphasize the product’s unique selling proposition. Even if a good does not have a clear USP, you can still promote its positive aspects, such as its health, value, convenience, and so on. 

Knowing the product’s USP will not only assist you in deciding what information should be visible on the label, but will also assist you in making important design decisions throughout the process.

Supplying Vital Information

Certain types of information must be included on your product label, some for the buyer’s benefit and others because labeling laws and regulations demand them to be disclosed. The following is the critical information you should include on your product label:

  • Company/Product Name: Please ensure your label clearly states the company and/or product name so a consumer can recognize the info at first glance.
  • Contact Information: Include your company’s mailing address and phone number on the label of your merchandise to welcome consumer feedback. This information would take up little room, and the input you receive can help you make sales and marketing decisions. 


Another important piece of information to include on your label is the URL of your company’s website. Again, your web URL will take up less room and will allow customers to quickly access your official website. If your website is well-designed, it can provide a prospective customer a positive picture of you and your items.

  • Mandated Information: This is the information you’ll need to include on your labels, as mandated by law. Certain goods must include the Surgeon General’s warnings and nutrition information on their labels. If your goods fall within this category, make sure the label includes this information. 


This information should be displayed on the back of your label. The material on the front of the label should be focused on describing and selling the product. Put the necessary information on the back of the shelf. Consider what other forms of essential information you should include on your labels based on the type of product you sell. Follow the labeling guidelines for your product category.

Unique Product Labels
Image credit: shutterstock

Keep Your Uniqueness

Make sure your label design is one-of-a-kind, memorable, and unique. Examine the labels of your competitors. Create an eye-catching design. Legal ramifications could result from an old, dull, or copied design. This could also take you to a vital factor, which can be deceiving to first-time clients.

Don’t use anything in the design that isn’t related to the product in order to make it appear better. The barcode is an important feature that should be highlighted in the design. It aids in the acquisition of a sense of legitimacy, which aids in dealing with any legal checks or swift audits.

  • Illustrate

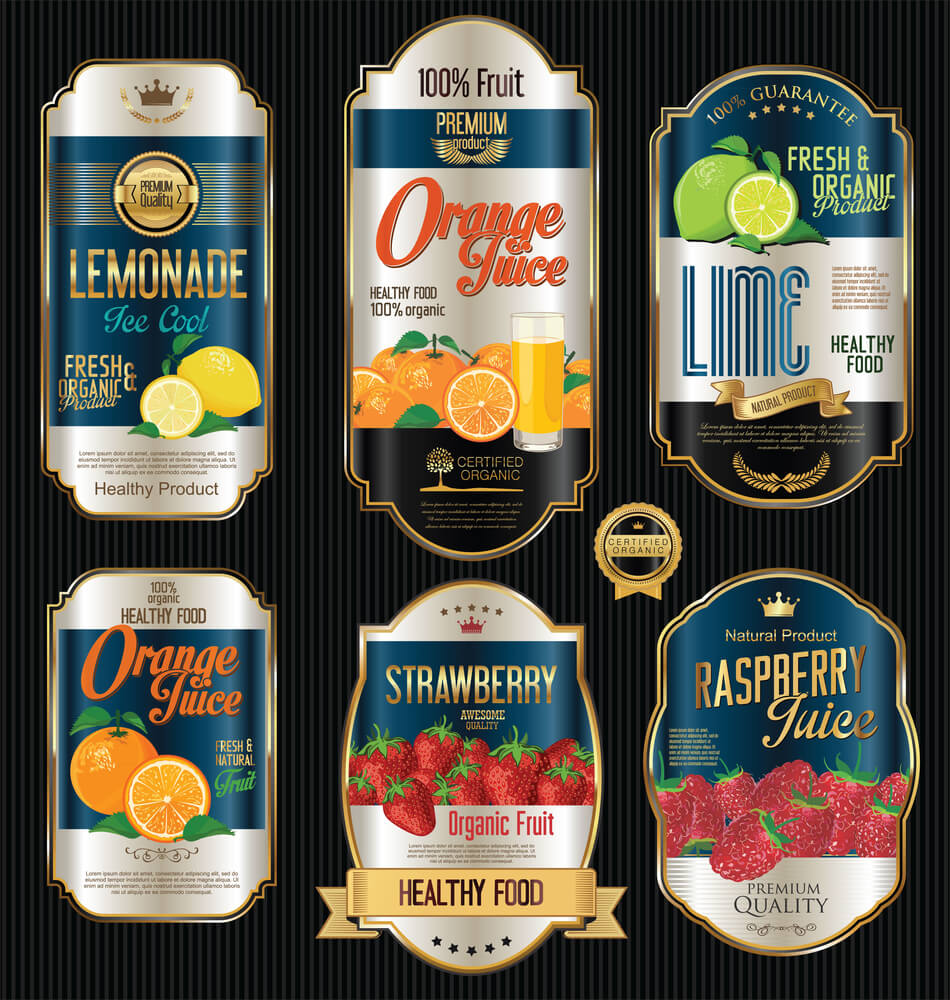
Illustration and graphic design elements are required on some product labels, especially when you need to give a more visual presentation of a product. You may make it appear with the help of an internet packaging design service provider. A product label for jellies or fruit juice, for example, has a completely different color scheme and illustrative representations of fruit flavors. For them, a simple design would be ineffective. In some cases, abstract inky graphics are a good alternative for such labels.

Packaging Types to Use for

Pre-determining packaging materials is ideal because it allows you to provide ideas of overall appearance for the product you’re creating. If you’ve decided upon the packaging material already, you will undoubtedly want to recheck everything about it, including its size, composition, transparency, and opaqueness. This is all crucial information that will help you make decisions about your DIY product labels design.

  • Concentrate on The Print Quality

The last but not least aspect to think about is getting a nice print of the label. To make a positive first impression, try to increase the product’s visual presence with high-quality cards. Whether you want a sleek gloss, a matte surface, or something coated, hire a professional to do it for you. When it comes to making a memorable product label, keep these pointers in mind. 

However, you do not need to engage an expensive designer to complete the task. A distinctive label is readily affordable for your small business or startup.

Simply use this platform to launch your product’s custom label design competition. Your contest will attract a large number of online graphic design services specialists. To win the competition, they will come up with outstanding graphic design concepts. Then, you can choose one design that you want to use on your items. The price of the design is completely reasonable.

Customer Involvement

When working on a design for a client, make sure you’ve got information and involve them in the process.  When it comes to how much the customer is involved in the design process, different designers take different approaches. 

Some designers try to involve the consumer as much as possible throughout the design process. Other designers simply provide the bare minimum of changes. In either scenario, it’s crucial to seek feedback before making any major design changes, as there could be a legitimate reason why the client doesn’t want them.

Conclusion

A product label can aid in the development of a company’s brand identity. However, the label must be readable and sophisticated. Use white space to relieve eye strain and give the design a distinct and distinctive look. I hope this article gave you a complete overview of how to create product labels.

Keeping Organization Fun for the Elementary Grades!

Homeschooling Elementary Grades 1-5

fluorescent_labels

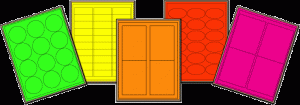
In these grade levels children are beginning to learn how to organize their own workbooks, notebooks, and binders.  This is also the ages you want to keep their enthusiasm for learning growing.  That is why our Fluorescent Labels are such a good choice!  They are eye catching, and each child can choose a color to code all of their books separating theirs from their siblings.  Fluorescent sheets come in green, yellow, orange, red and pink. They are top coated so they can be used through inkjet printers with an instant “dry to the touch” finish.  No smearing with these labels so one less reason to have to clean up messy hands! So hop on over to our page here that offers these awesome labels and don’t forget to order some samples! 

Fun Pre-School Games Using Laser Inkjet Labels

images (1)

Matching games are a great tool when your little ones are learning their letters, numbers and colors.  Make a chart with numbers 1-10 in a column down the side of a poster board, but not in order. Make another column the width of a reusable Laser Inkjet Label next to it.  Place the numbers 1-10 on ten labels.  Have your child peel off a number label and place it into the second column in the correct row that corresponds to the number they have chosen.  If you have toddlers at the same level this can be a really fun game of racing to see who places all ten labels in the correct place.  When they are finished they can peel them off the poster board and save them for the next round.  This can also be done with ABC’s, and learning to recognize written names of colors by coloring each row in the first column a different color and then writing the names of the colors on the labels.


      1 Label 1 here
      6 Label 6 here
      9 Label 9 here

You get the idea.  It can also be done with the words one, two, three…as they begin to recognize those.  The options are endless!

Labels for Homeschooling Families

At Laser Inkjet Labels we know that homeschooling is a full time job. We also know how important organization is to that process. We want to make that job easier. Trips to the store for purchases can take valuable time away from in-home learning. Wouldn’t you appreciate your labels being delivered right to your door? Not sure which labels would be best suited for different tasks? Ask for samples to be mailed to your home before choosing your purchases. Browse our list of labels in unique sizes and materials to find the labels you would like to try. Then just go to our Contact Us page and request which sample labels you would like us to deliver directly to your home. Have questions? Don’t hesitate to contact us! We are here to make your homeschooling life a little simpler.

homeschoolClick Here to see our products